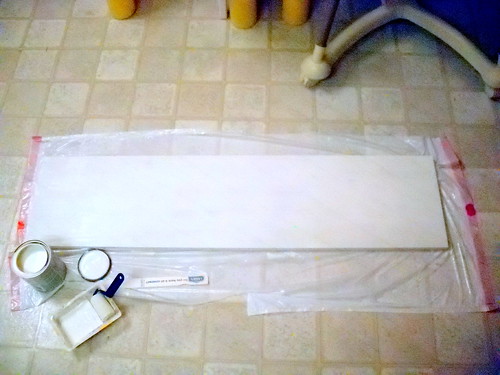
I bought 3 pine wood boards measuring 3/4"x12"x4'. I also got some large picture-hanging D-rings and heavy duty anchors for the wall. The paint is all leftover sample paint colors that are in my home.
First, I put on three coats of the base color (Olympic's White Smoke) using a small 3" roller. I could have probably gotten by with just one coat if I had taken the time to lay down some primer, but it really didn't use much paint for this project (I still have 1/2 the quart left) and it didn't take much time at all for this step. I let the base color dry overnight.
The next morning, I took my trusty 2" paint brush and got to work. The design is created by brushing, dabbing, dripping, and splattering paint from the brush. I didn't allow the colors to dry in between each application of a new color. It didn't make much of a difference since my house is pretty dry and everything set quickly. (Colors are all Olympic paint. Green = Quaking Grass, Red = Bonfire, Blue = Kaleidoscope, and Yellow = Toffee Crunch)

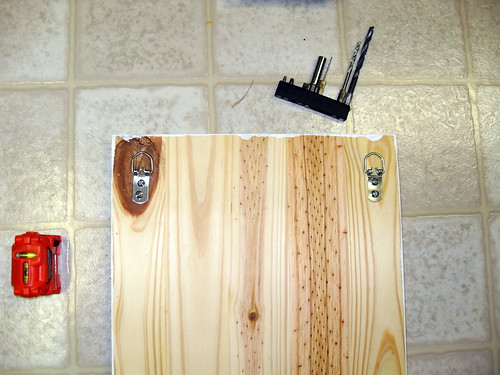
At the end of the day, when everything was dry, I flipped the boards over and installed some picture-hanging D-rings at the tops.
Then, with the help of my husband who is much taller than I am and can actually see that close to the ceiling, we hung the pictures on the wall with a 6" space between each board.
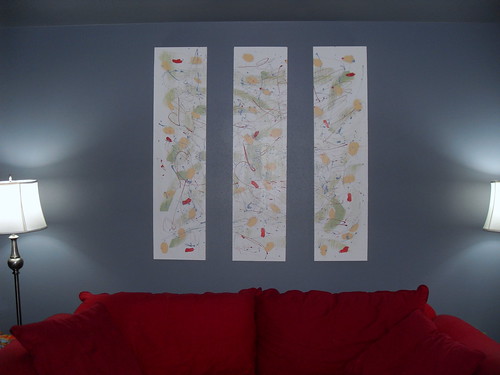
I think it looks pretty nice! I like that there's still plenty of white visible on the boards since it helps to reflect more light and brighten up the space. The blue on my walls (Sherwin William's Storm Cloud) makes the room pretty dark at night.
Beautiful!!! DIY is the best kind of everything!
ReplyDelete