I've been a bit obsessed with babywearing recently. I was first fully introduced the proper method of babywearing when my sister showed me how to use her Moby wrap. I had been telling her how much I hated the old Evenflo Snugli carrier that I found at Goodwill (tip #1: good baby carriers will not be found in thrift stores!). I felt like Benjamin wasn't secure it in, and I couldn't lean over because he wasn't tightly held to my body. I wasn't sure how it was actually helpful! I learned that it was actually a very poor structure for babywearing. I deem it of the crotch carrying variety (like the
Baby Bjorn). It provides no ergonomic hip or spinal support for baby and when you use it as a front facing carrier, it throws off the wearer's balance so you must arch your back a little to correct it. Learning that explained a lot about why Benjamin was unhappy to sit in it and why I was unhappy to wear it. And away we went into our babywearing adventure!
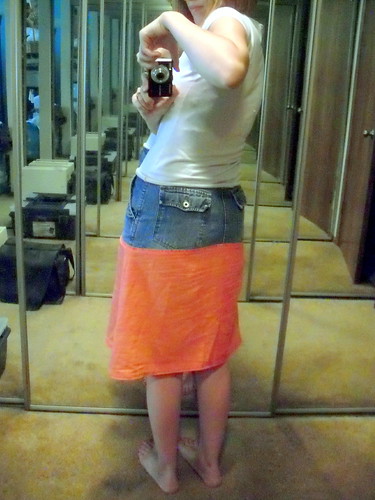
Miriam was being very kind in helping me show off my different carriers today. She loves them! She can be quite fussy when I put her down, but as I'm getting her wrapped (or strapped) up, she starts smiling or sighing. She knows what it means!
Well, first there was the
Moby Wrap. I used this for a very long time with Benjamin. He was already four months old when I started wrapping him in this. I've done pretty much every hold one can think of, except for a back carry because that's not advised with a stretchy wrap, and it is by far my favorite wrap for small babies. Miriam has pretty much outgrown this one now. I find it starts to loose it's support once the baby reaches 15 pounds. However, it's an invaluable tool when working with newborns who just love to be held, cuddled, and carried right next to your heart!!
Moby Wrap - Hug Hold
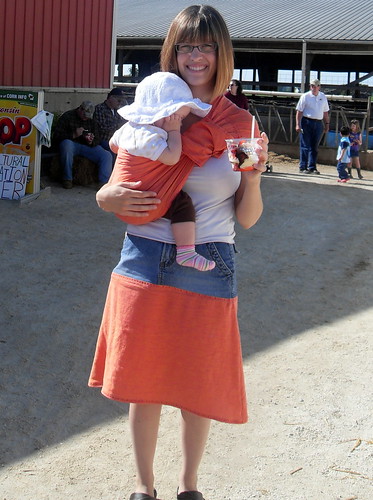
When I found out I was pregnant with Miriam, I started to loose my hips. Benjamin was too big for the Moby Wrap, but he still wanted to be held and carried a lot. But, he was entering his toddler exploration phase and wanted to be up and down quite often. This is when I purchased my
Hotsling. It's sized to my pregnant body, so it's not my go-to choice unless I'm wearing my winter coat or lots of layers. I keep it in my car now for shopping trips. If Miriam is asleep in her carseat, I'll put Benjamin in the Hotsling to keep him from grabbing everything off the shelf. If she's awake, she goes in the sling and he sits in the cart.
(And NO! This sling is not one of the recalled versions. A sling like this is safe. A bag sling like those are not. It is important that your baby's chin never touch their chest when babywearing, as they did in the bag slings and caused aspirations.)Hotsling - Hip Carry
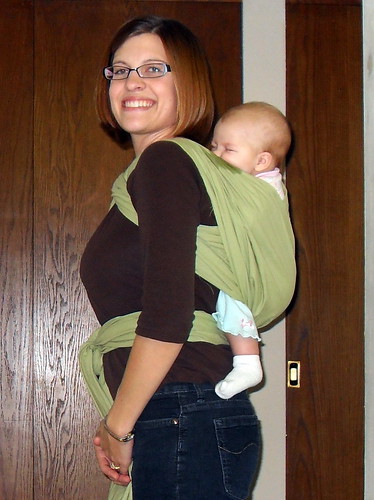
After my Hotsling, came my
Maya Wrap. This is actual a handmade ring sling using the brand's
sewing instructions. Because I used fabric from the remnants bin, just to see if I would like it (didn't want to use really nice fabric and hate it!!), I made it a double layered sling so that the wrong sides of the fabric wouldn't show. This is a great, versatile sling. It's the first time I tried back carries and worked well enough so that I could continue to play handbells while holding Benjamin, carefully avoiding the rings, of course. It's a quick on-off sling, but I do prefer to use it when I can expect the child to remain in the sling for at least an hour because it's not as easy on-off as the Hotsling.
Maya Wrap - modified Kangaroo Carry
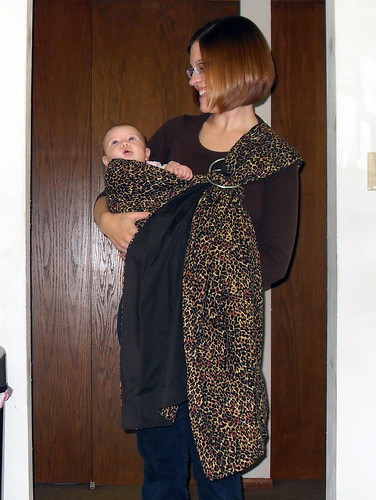
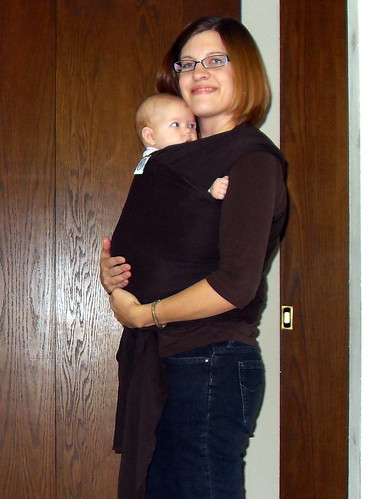
It wasn't too long after Miriam was born that I realized that I was going to need to learn a backcarry. I was desperate! I couldn't do much with her in a front carry in my Moby or Maya wraps because her body got in the way. As she got older, she started to use those little feet to push up on whatever fabric she could get a foothold on and since she has a very long body, she was constantly in my face. I nanny, and part of my job duties are feeding the kids their lunches and dinners, so I want to use the oven and I felt I couldn't do that with her in a front carry. Miriam struggled with colic and the only way to soothe her was to carry her. I obliged because who really wants to hear a baby cry?! I started searching for ways to do back carries, and the most versatile way is to use a woven wrap. Well, I didn't have the money to purchase a good
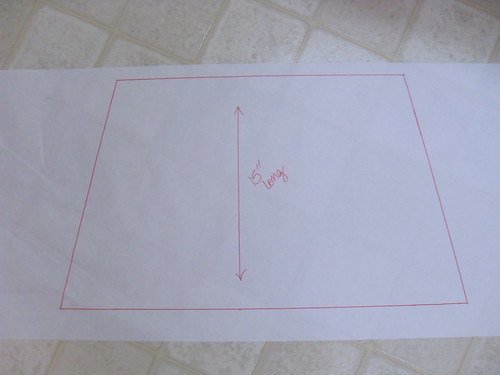
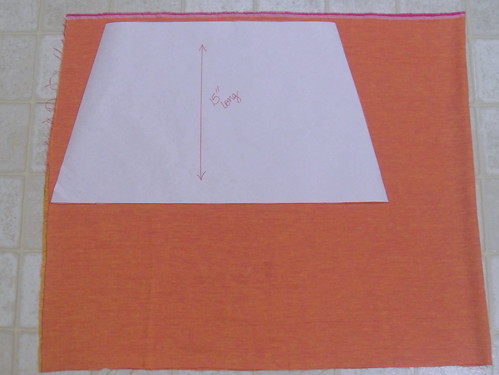
German woven wrap, so I cut up a old curtain that resembled the cotton gauze wraps. It has a slight stretch to it, so it's easy to make a comfortable wrap, but it's not my favorite. I like it a lot for front or hips carries. I can do a back wrap in it, but my arms are not flexible enough to make it a quick venture. I am told that if I invested the money in a
good woven wrap that I'll change my mind, and I bet I would! Maybe I will if I have more kids. :-)
Cotton Gauze Wrap - Secure High Back Carry
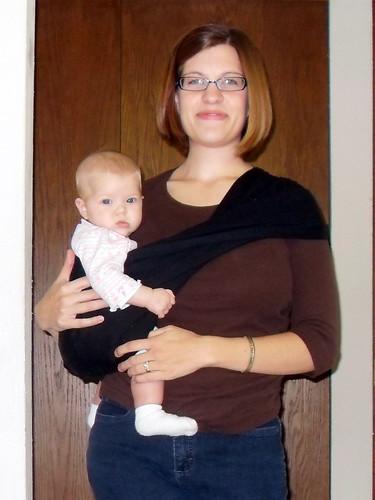
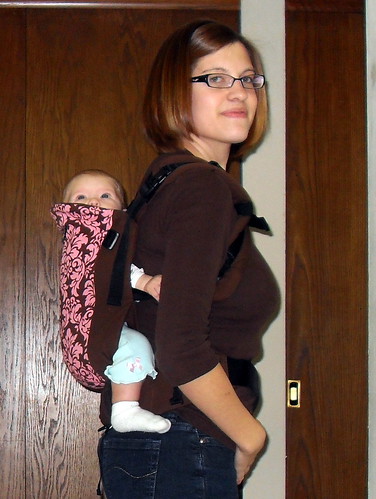
While I was doing my search on options for back carries, a wonderful fellow knitter offered me her
Beco Butterfly II. She picked the pattern on this carrier because she liked it, but her husband had beefs with her wearing their son in a
pink carrier. She bought it second-hand at half price and offered it to me at 30% off that. Now, that I can certainly afford!! This is a seriously awesome carrier. It is also the only carrier that I can get Chris to use (though he still refuses to use it in public becuase it's
pink) It's super easy to get Miriam in and on my back. I wear it a lot on my front too, and in this carrier is primarily where she takes her naps now. I can go from a front to back carry without taking her out or pass her off to Chris in the same manner. I've used it as a back carry for Benjamin when he's asked, but he's still too up and down, go go go, for something like this. He does better in the slings. I am in love with my Beco and I think everyone around me knows it!
Beco Butterfly II - Back Carry
So, those are my carriers. Besides a good German woven wrap (I think I'd like a Storchenwiege), I also don't have a mei tai in my collection. I've been looking at wrap conversion mei tais, specifically
one by this Etsy seller!
If you are interested in babywearing or in the market for an affordable secondhand carrier, get over to
The Babywearer and check out their forums!!