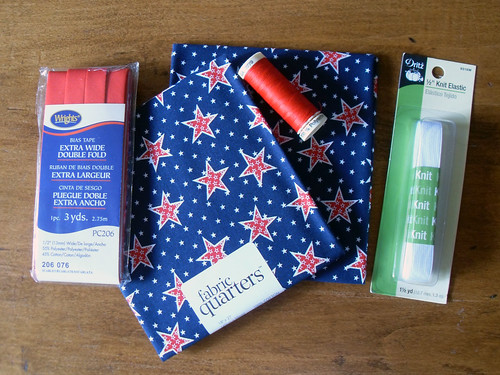
Materials:
2 pieces of 18” x 16.5” cotton fabric (I used two fat quarters for this dress)
14” of 1/2” knit elastic
1 package of 1/2” double fold bias tape (great tutorial here!!)
matching thread
Normally, one would use a pretty patterned, embroidered, or vintage pillowcase to make this dress. However, I wanted to make my daughter a dress that would match Mommy's dress, and I certainly couldn't fit into a pillowcase! You can still use a pillowcase if you would like, but just ignore steps 2-3 since the pillowcase will already have that completed for you. (When measuring the 18” on your pillowcase, use the opening as the bottom of your dress. Then you won't need to hem!) This dress should fit from 6 months – 18 months (finished length is 16.25”).
Step 1:
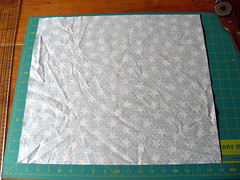
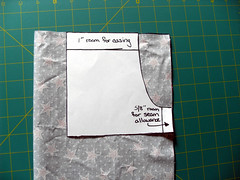
(click on each picture for a bigger view.)
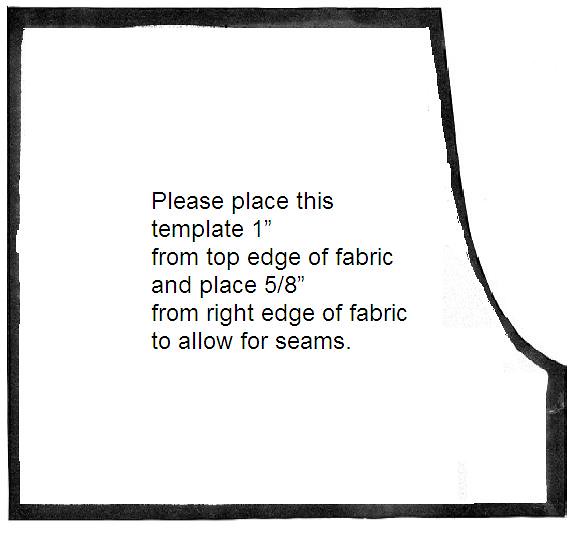
Lay the two pieces of fabric on top of each other, right sides together, and cut edges matched (or turn your pillowcase inside out). Fold the fabric in half lengthwise. Lay the armscye (armhole) template on the upper right-hand corner of the fabric, and cut along the j-shape to create armholes. Below is the template. It can also be found here on my Flickr page. Download and print the Medium(640) size. (I added 1" to the top and 5/8" to the side of my template after printing but before cutting so that I didn't have to measure once placed on my fabric.)
Step 2:
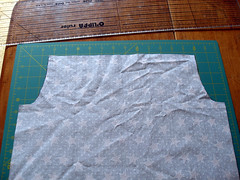

Unfold the fabric. With right sides together, pin along the side edges (from the bottom of the “J” down). Sew a 5/8” straight seam. Go back and sew another straight seam in the seam allowance, 1/4” from the first one. Trim your fabric close to the second seam. Do this for each side. Press seams flat towards the back (which side is the back is completely up to you).
Step 3:
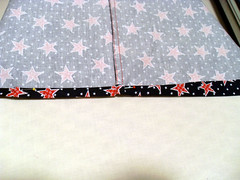
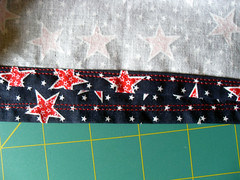
Hem your dress. Fold your fabric up 3/4” inch and press. Fold the raw edge down towards the pressed seam, hiding the raw edge on the inside, and press again. Stitch a straight seam 1/4” from the bottom of the dress. Stitch a second straight seam 1/8” above the first.
Step 4:
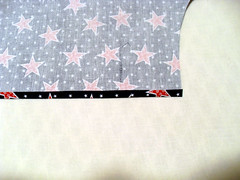

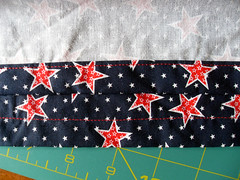
Create your top casing. Along the top of the dress, fold down 1/4” of the fabric and press. Fold down an additional 3/4” of the fabric and press. Sew a straight seam 1/8” from the edge of bottom press (leaving a tube-like hole above it). Do this for both the front and back pieces.
Step 5:
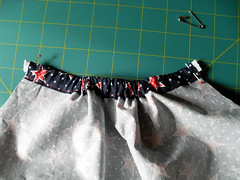
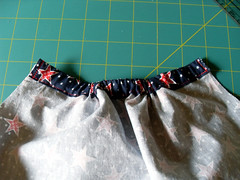
Cut your elastic in half so you have two 7” pieces. Using a safety pin for help, guide one piece of elastic through each casing. Leave 1/4” of elastic hanging out each side, and pin. Sew down the side of the casing, tacking in the elastic. To remove extra bulk, stretch the elastic ends and clip near the fabric.
Step 6:
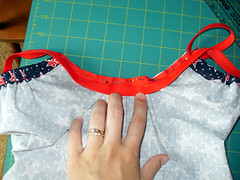
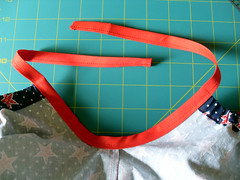
Cut two 26” strips of bias tape. Find the midpoint of each piece and pin to the dress armscyes at the seam under the armpit. Place as many pins as you need to in order to attach the bias tape smoothly to the armholes. There will be around 10” or so of bias tape hanging from the top of the dress. This extra bias tape will become the shoulder ties. Starting at one end of the bias tape, stitch along the open edge, continuing through the armscye and up the other side. Repeat this on the other armhole. (I found an invaluable video tutorial on how to sew bias tape. Without it, there may have been lots of swearing. Not good for toddler ears.)
Step 7:
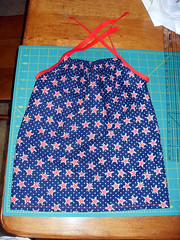
Put this nifty little dress on your favorite little girl! Tada! Beautifully (and safely) made!
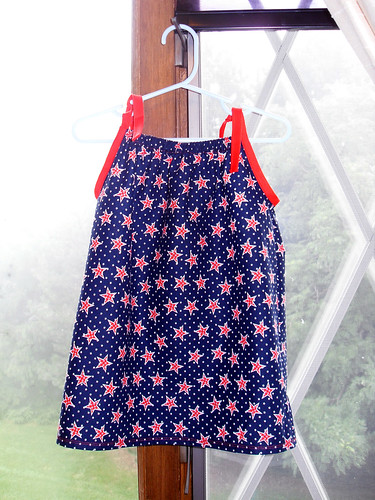
It is a really good tutorial!!! The dress is so cute!!!
ReplyDeleteKindly regards from Gran Canaria island - Spain
and sorry my poore english!!!
very good instructions, and such a beautiful dress.
ReplyDelete