The downside? Store bought kefir is expensive. We typically get it from Costco, where it comes in a box of 12 single serving bottles and is priced at about $0.84 a serving. However, Costco routinely stops carrying it for a month or two and then we need to purchase it from the grocery store where they have 32oz bottles (4 servings) and it comes out to $0.92 a serving, and even then we might not find it every week.
My mother decided to try making her own kefir, after I innocently asked if one could even make it. She purchased her grains, and started the brewing process. Before long, she had more than enough grains that she sent them to me. Here's how you brew your own kefir.
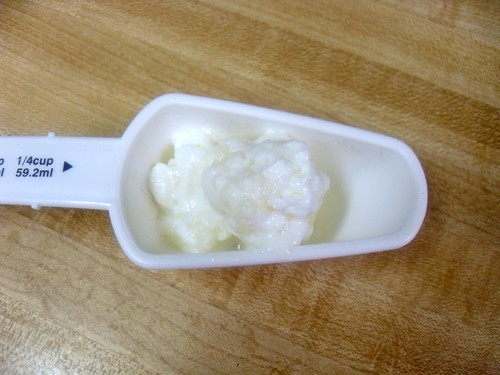
Here are my grains. They are translucent and cauliflower-like in appearance. These are milky because they were just pulled out of a milk brew.
Put your grains (about 1TB in size) in a clean glass jar. I'm using a tall quart canning jar.
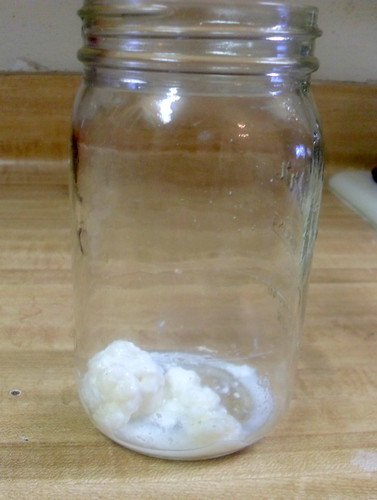
Add one cup of milk over your grains. You can use any cow's milk, goat or sheep milk, or soy or almond milk you want. I have 1% cow's milk in the fridge, so that's what I used.
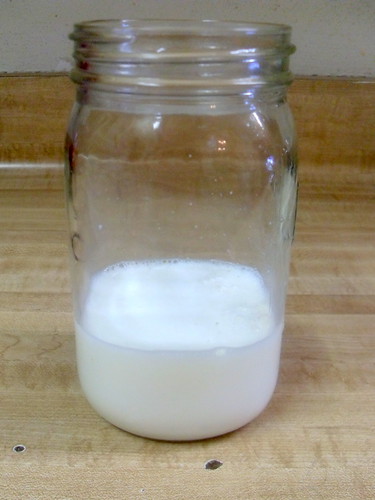
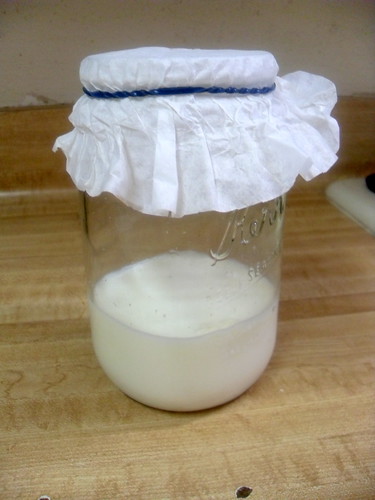
Cover your grains in order to keep dust out, but you do need to allow air circulation. I covered mine with a coffee filter. Leave it sit on the counter, out of sunlight, for up to 24 hours.
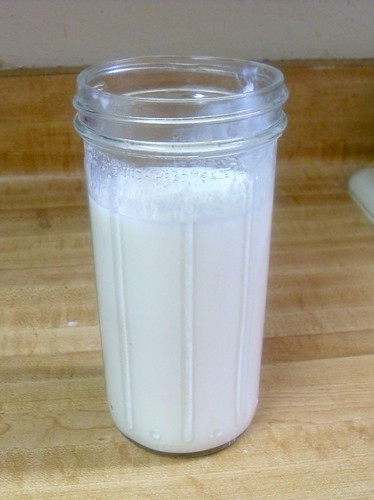
When the kefir is done brewing, it'll be a bit thick (like a runny version of yogurt) and have a tangy taste reminiscent of plain yogurt. The milk may have separated and formed curds. Strain your grains out. Do not use any metal strainers or utensils because the metal will kill the grains, and do not store it in plastic as the grains will eat that. I use a plastic strainer and a plastic baby spoon to do the straining, but I store it in a tall pint mason jar with a plastic freezer canning lid. Now you keep it in the refrigerator until you're ready to use it. (This is two brewings. You're still left with 1 cup of liquid each time.)
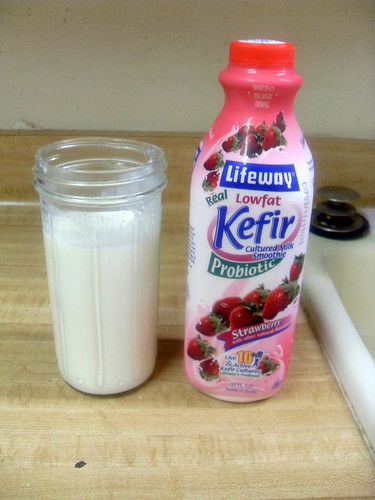
This Kefir is the exact same stuff in the store bought bottle. The only difference is that I haven't turned it into a smoothie. I could blend some strawberries or blueberries or other fruit with it and you wouldn't be able to tell the difference.
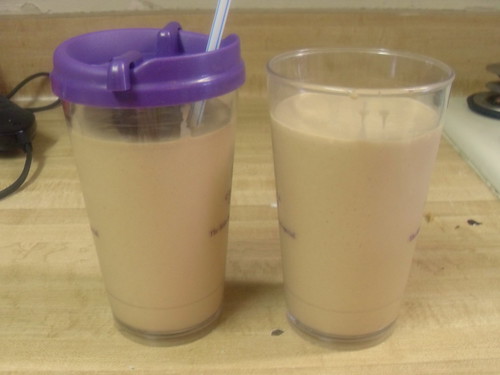
But, today, I thought I'd make a Chocolate Peanut Butter Banana smoothie. You can use Kefir for anything that you would use milk, yogurt, or sour cream for. This recipe originally called for skim milk. With the Kefir instead, it really brings the taste of the banana to the forefront! I gave Chris a drink and didn't tell him there was Kefir in it (he has up until this point refused to drink Kefir on principle), and he thought it was good! Be forewarned, this is a very rich drink though.
Ingredients:
1 cup kefir
1 cup ice
1/2 cup creamy peanut butter
3 TB chocolate syrup
1 banana
Blend all the ingredients together. Makes 2 servings.
No comments:
Post a Comment